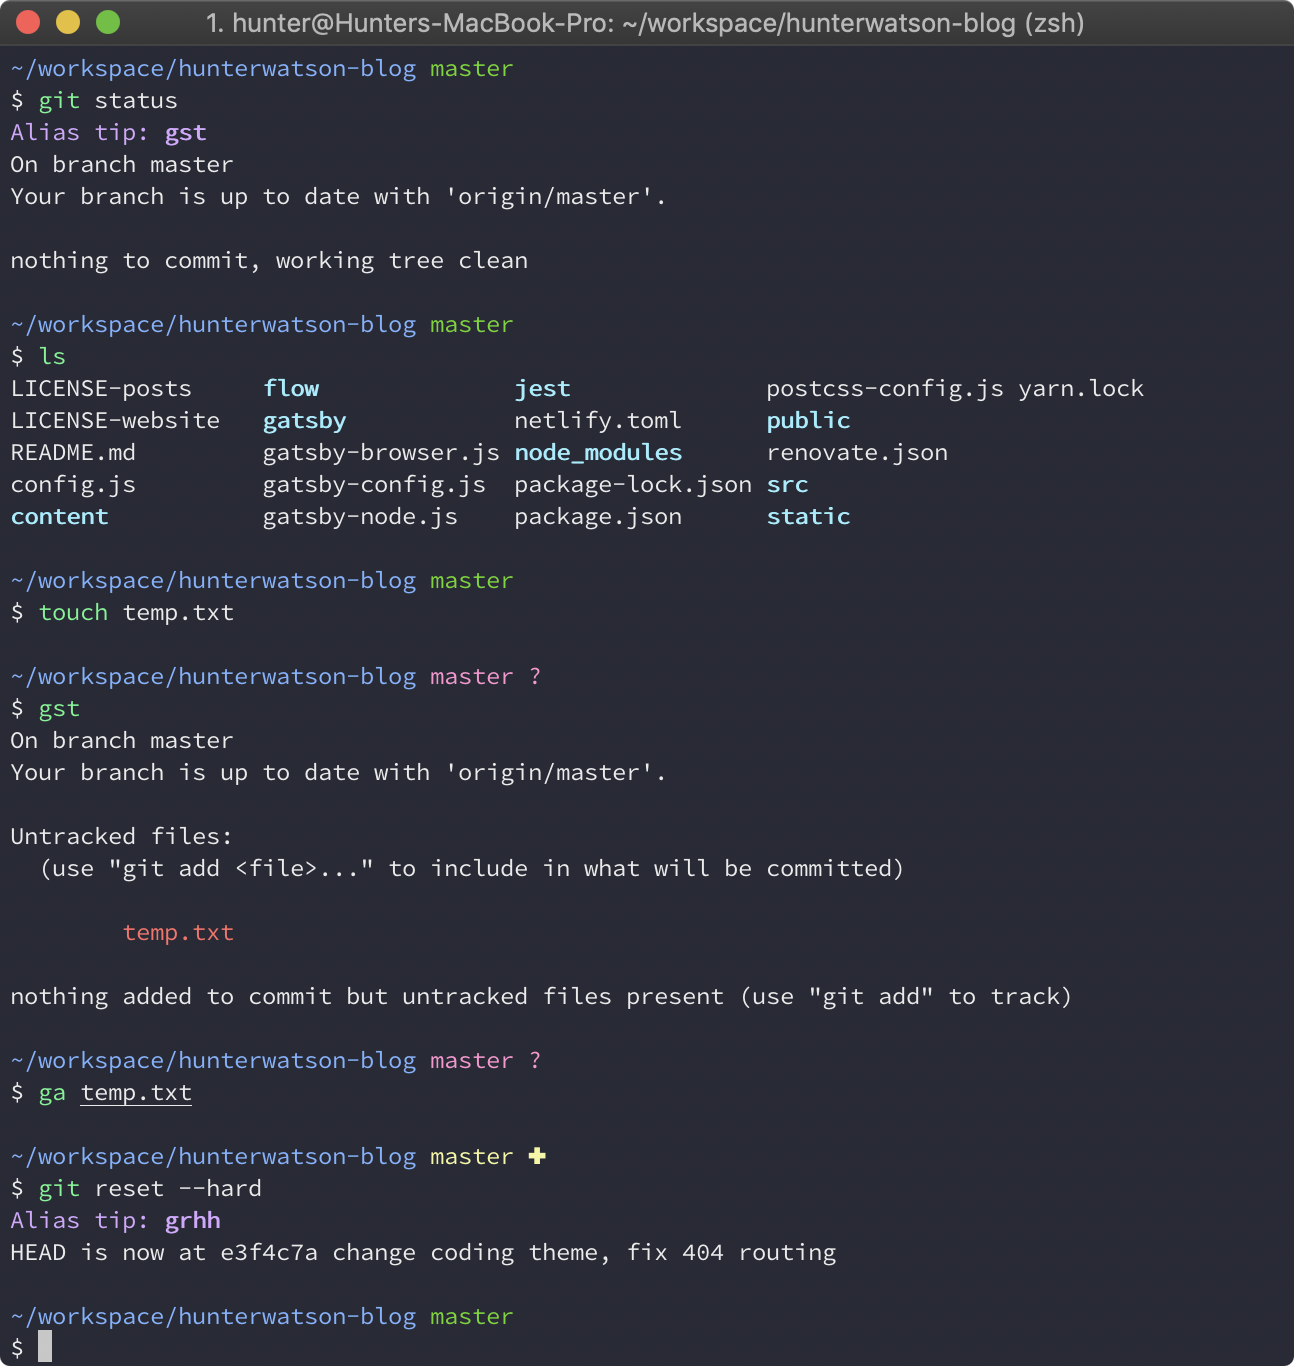
I was talking with my fellow interns about our personal workspace setups, and I was super surprised when two of them said they use the default Mac terminal.app with no customization whatsoever. I thought I was going to blow their mind when I whipped out my spiffy, colourful, dark-theme terminal prompt, but to my surprise, they were having none of it.
”Yeah, but it does the same stuff, so what’s the point?”, one of them said.
And then I froze… I didn’t have a response. Was it true? Was my gorgeous, fully customized terminal equivalent to the default, out-of-the-box version despite the countless hours I’ve devoted to the iterative process of creative the perfect command prompt? Was everything a waste of time?
Or was I just so used to my power-user-enabled, ergonimically-crafted, beeaaauuutiful, that the advantages became second nature? Was I so comfortable with the brainchild I created that I started to take it for granted?
The answer is… probably something in between. Anyways here’s a little guide on how I set up my terminal. Obviously you can (and should) change any of the configurations to your liking.
Note: This guide only focuses on the aesthetic changes. I’ll be making another post about the added features and benefits of some of these changes.
0. Install Brew
Homebrew is a package manager for Mac (and Linux). If you’re doing any kind of software dev stuff on your Mac, you’ll probably end up using it to install packages and dependencies.
In your command prompt, run the following command:
/usr/bin/ruby -e "$(curl -fsSL https://raw.githubusercontent.com/Homebrew/install/master/install)"1. Set Up iTerm2
iTerm2 offers a lot of benefits over the default Mac terminal… but I mostly use it because it supports a lot of different colours.
Install iTerm2
Install iTerm2 here or run the following command:
brew cask install iterm2Customize Colours
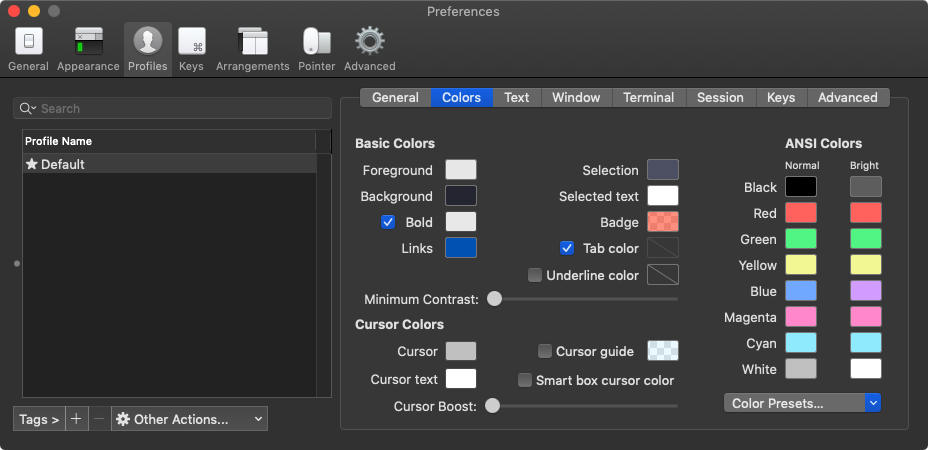
Open the application and navigate to the Colors tab (iTerm2 -> Preferences -> Profiles -> Colors).

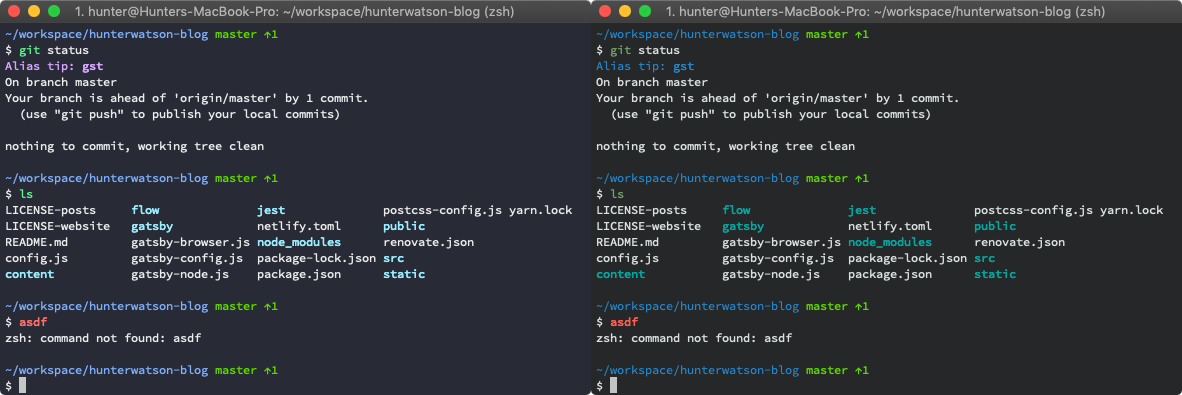
In the bottom right corner, you can select a preset. I’m rocking with a slightly altered Dracula theme I think… I’m not sure. But you can download my presets here. Here’s a side by side comparison with meemoo on the left and yubah on the right:

Change Font
Navigate to the Text tab (iTerm2 -> Preferences -> Profiles -> Text). At the bottom of the tab, you’ll want to change the font that supports special symbols. You can download my preferred fonts here, or you can check out this selection.
Configure Other iTerm2 Settings
Spend some time looking around the other settings tabs and change things to your liking. I don’t remember what I changed in here, but it should mostly be preference. One thing I have enabled is Unlimited scrollback from the Terminal tab (iTerm2 -> Preferences -> Profiles -> Terminal), which lets you scroll wayyyyyyy back to see your old stuff.
2. Set Up Zsh (and other stuff)
By default, your Mac uses Bash. Zsh (sometimes called Z-Shell) is a fancy shmancy version of it. I’ll get into some features later. Oh my Zsh is a configuration framework for Zsh. I don’t really know what it does, but I appreciate it.
Install Zsh
brew install zsh zsh-completionsInstall Oh my Zsh
sh -c "$(curl -fsSL https://raw.github.com/robbyrussell/oh-my-zsh/master/tools/install.sh)"Customize your ~/.zshrc
This file houses all the custom configurations we’re about to do. Remember that whenever you make a change you’ll need to run source ~/.zshrc or restart your terminal for the changes to take effect.
Install Powerlevel9k Theme
I like Powerlevel9k because it’s super customizable.
git clone https://github.com/bhilburn/powerlevel9k.git ~/.oh-my-zsh/custom/themes/powerlevel9kAdd the theme to your ~/.zshrc file
ZSH_THEME="powerlevel9k/powerlevel9k"Your prompt is gonna probably look absolutely wild, especially compared to the white, default terminal. Now is a good chance to take a look at other people’s prompts for inspiration. I think you can just copy-paste their config file into yours. Here is my personal configuration (what you saw in the screenshots). I think mine is pretty humble, but still makes me feel like I’m hacking the mainframe.
Stylize Your Prompt
There’s a ton of options, all of which are explained in the docs, but I’ll walk through the user config part of my ~/.zshrc. I’m going to ignore the plugins and some other utility stuff and just focus on the aesthetics, since I plan on covering functionality and additional features in another post.
The first line sets what prompt segments you want to see. I wanted a simple design so my values are dir (directory: show the directory you’re in) and vcs (version control system: show some helpful git stuff). The lines after that are setting the symbol for separators, of which I don’t have any.
POWERLEVEL9K_LEFT_PROMPT_ELEMENTS=(dir vcs)
POWERLEVEL9K_LEFT_SEGMENT_SEPARATOR=' '
POWERLEVEL9K_LEFT_SUBSEGMENT_SEPARATOR=' '
POWERLEVEL9K_WHITESPACE_BETWEEN_LEFT_SEGMENTS=''
The following line removes the prompt on the right hand side. I considered adding on to track the time, but it felt too cluttered to me.
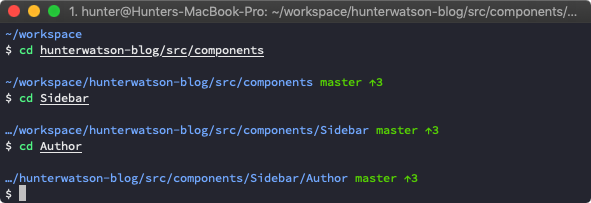
POWERLEVEL9K_DISABLE_RPROMPT=trueYou can set the number of subdirectories to go down before it starts shortening the prompt. In my workspace setup, my terminal usually only has half of the screen, and I don’t want a long directory wrapping around and taking up two lines, so after the 5th directory it will shave them off the front.
POWERLEVEL9K_SHORTEN_DIR_LENGTH=5
My prompt shows the directory and vsc information on one line, and the input on another. You can add this new line functionality by inserting the following lines. I chose to not have a prompt prefix on the first line, but use the class $ on the one where I actually type stuff.
POWERLEVEL9K_PROMPT_ON_NEWLINE=true
POWERLEVEL9K_PROMPT_ADD_NEWLINE=true
POWERLEVEL9K_MULTILINE_FIRST_PROMPT_PREFIX=''
POWERLEVEL9K_MULTILINE_LAST_PROMPT_PREFIX='$ '
By default, Powerlevel9k has a bunch of icons in the prompt. I didn’t love it so I set them to a blank string.
POWERLEVEL9K_ETC_ICON=''
POWERLEVEL9K_FOLDER_ICON=''
POWERLEVEL9K_HOME_ICON=''
POWERLEVEL9K_HOME_SUB_ICON=''
POWERLEVEL9K_VCS_BRANCH_ICON=''
The rest of the prompt config lines are for colours. There are foreground and background components for each section of the prompt (dir, vsc, etc.); however, some of the sections can have different colours depending on what directory you’re in, the status of your git repository, and a couple of other things. You can find all the supported colours by running this snippet in your terminal:
for code ({000..255}) print -P -- "$code: %F{$code}This is how your text would look like%f"Voila, if you’ve followed those steps (and used a little bit of critical thinking to cover the gaps I missed) you should have a nifty, new terminal set up just the way you like it (at least aesthetically). In the near future I’m going to post a Part 2 where I’ll cover some cool functionality of your new prompt, my favourite plugins, and some other technical things.